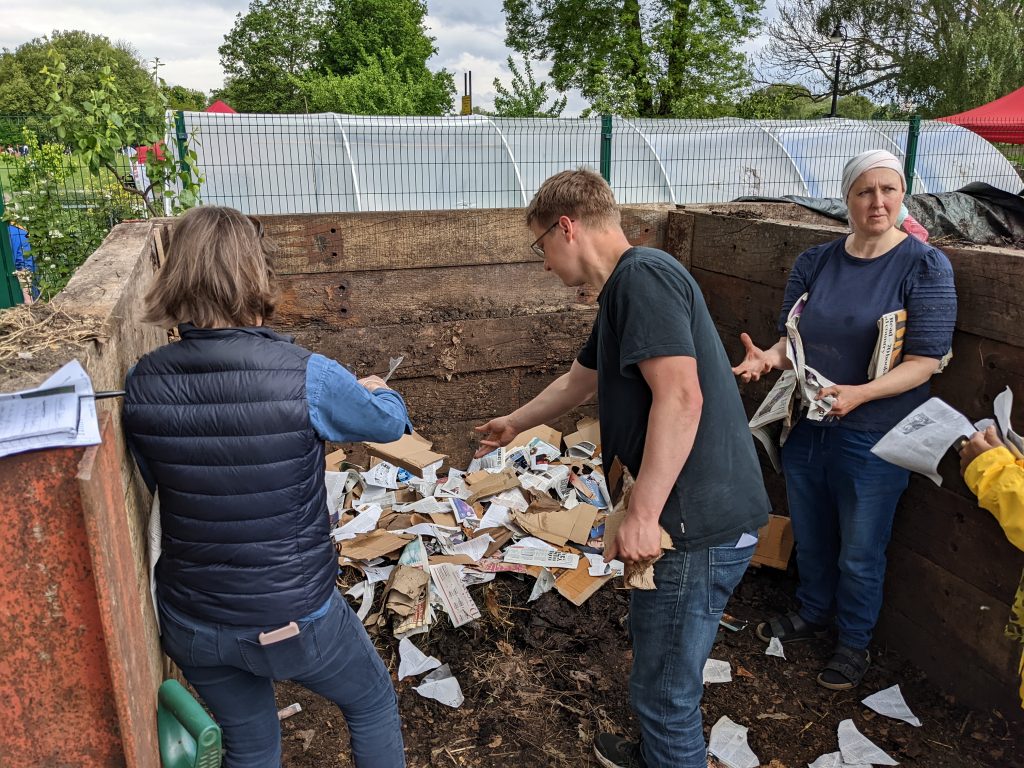
Back in October 2021 we held an inaugural composting workshop for our newly constructed bays beside our community garden. As follow-up, on Saturday 7 May Dan Priddle facilitated a second workshop for BBA gardeners and members of the local community to come along and learn the art of composting.

What is composting?
Composting happens when organic matter is aerobically broken down by micro-organisms, insects, worms, and other creatures. This creates topsoil, a material bursting with life and rich in nutrients to feed growing plants.
Why Compost?
Composting is hugely beneficial for soil. It increases nutrients, improves structure, and increases soil life. This creates an ideal medium to grow plants in.
It also has wider environmental benefits. As composting matter breaks down aerobically it release CO2. If organic matter is disposed of as landfill it breaks down anaerobically and release methane which traps 25 times more atmospheric heat over a century.
How to compost
In the workshop we learned how to hot compost where you build a mound of material at least 1m2 that can reach 65 degrees.
Firstly we gathered the material we needed. This is split into two categories: ‘greens’ – carbon rich matter and ‘browns’ – carbon rich material. Sometimes greens are brown and vice versa. For example coffee grounds are brown in colour but counts as green when added to the compost pile. Click here for more info on greens and browns.
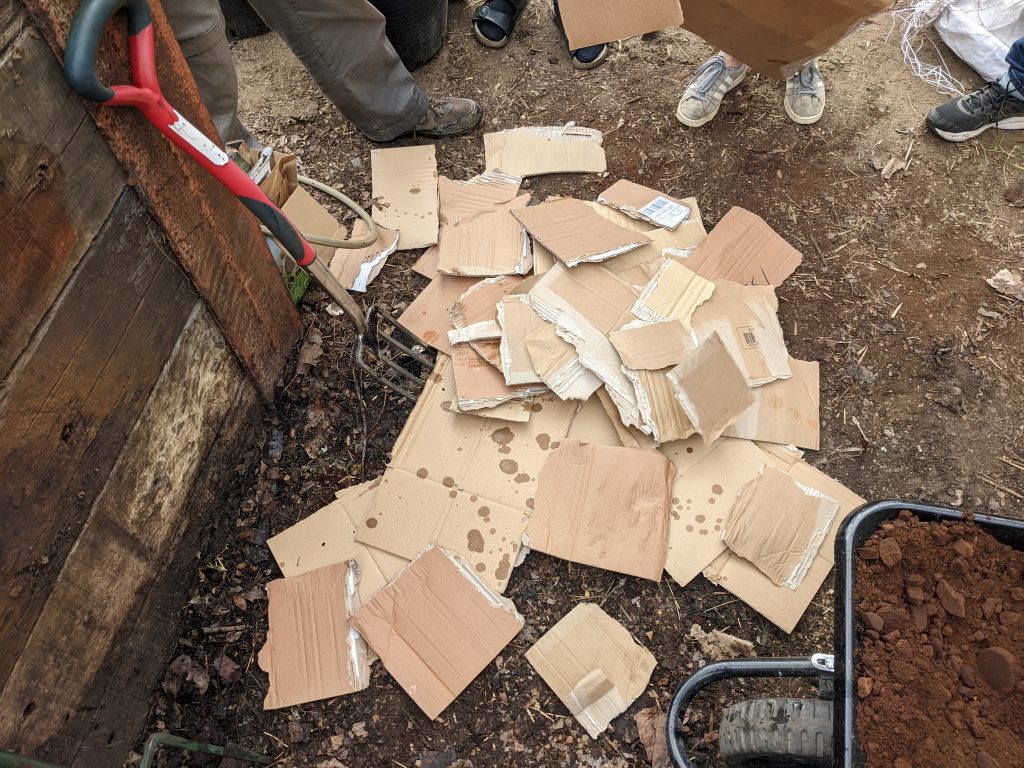
When building your new pile, be sure to chop or rip up large bits of material to speed up the composting process. We were using weeds and coffee grounds for our greens and cardboard for our browns. If you use coffee grounds make sure you mix it up with some other greens or it will dry into a crust!
Ideally you should then add a base layer of already composted material. This inoculates the new pile with organisms to break down the matter. Since October last year we already filled one of our three bays, so luckily we had plenty to use!
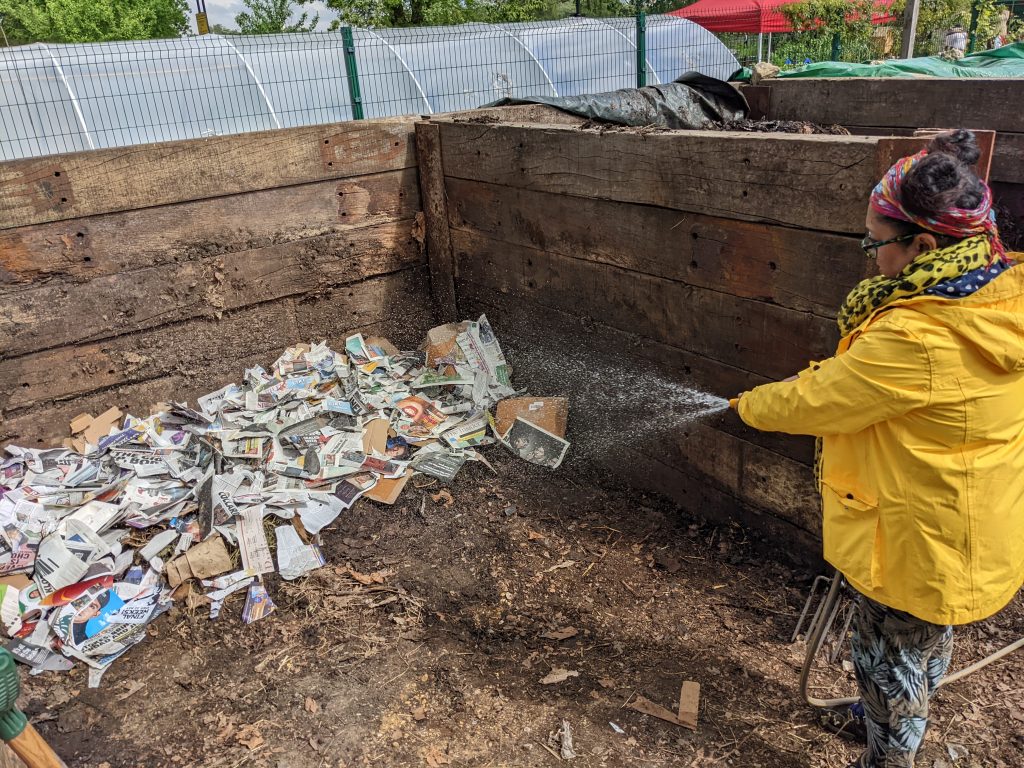
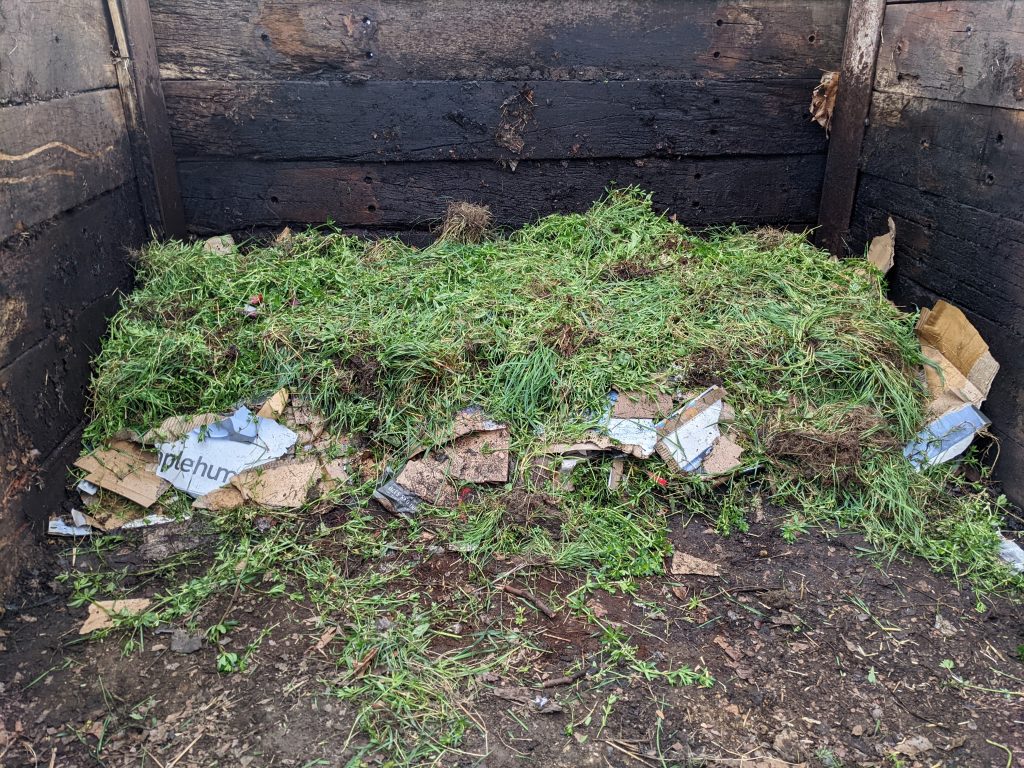
Next we added alternate layers of greens and browns. About 5cms did the trick. Our aim was to create as much of an interface between the brown and green and have a 50/50 ratio by volume. We gave each layer a soak with a hose before adding the next.
We gave each layer a soak with a hose before adding the next.
We then added green waste and eventually we were left with a properly stratified pile that the garden can add to over the coming year.
Maintain your heap
Now we’ve got our second compost mound setup we need to look after it. Firstly we want to keep feeding it layers of greens and browns.
Next we need to control its moisture. Too little and the decomposition will be too slow and we’ll get no compost, too wet and air will be forced our of the pile resulting it breaking down anaerobically which will smell!
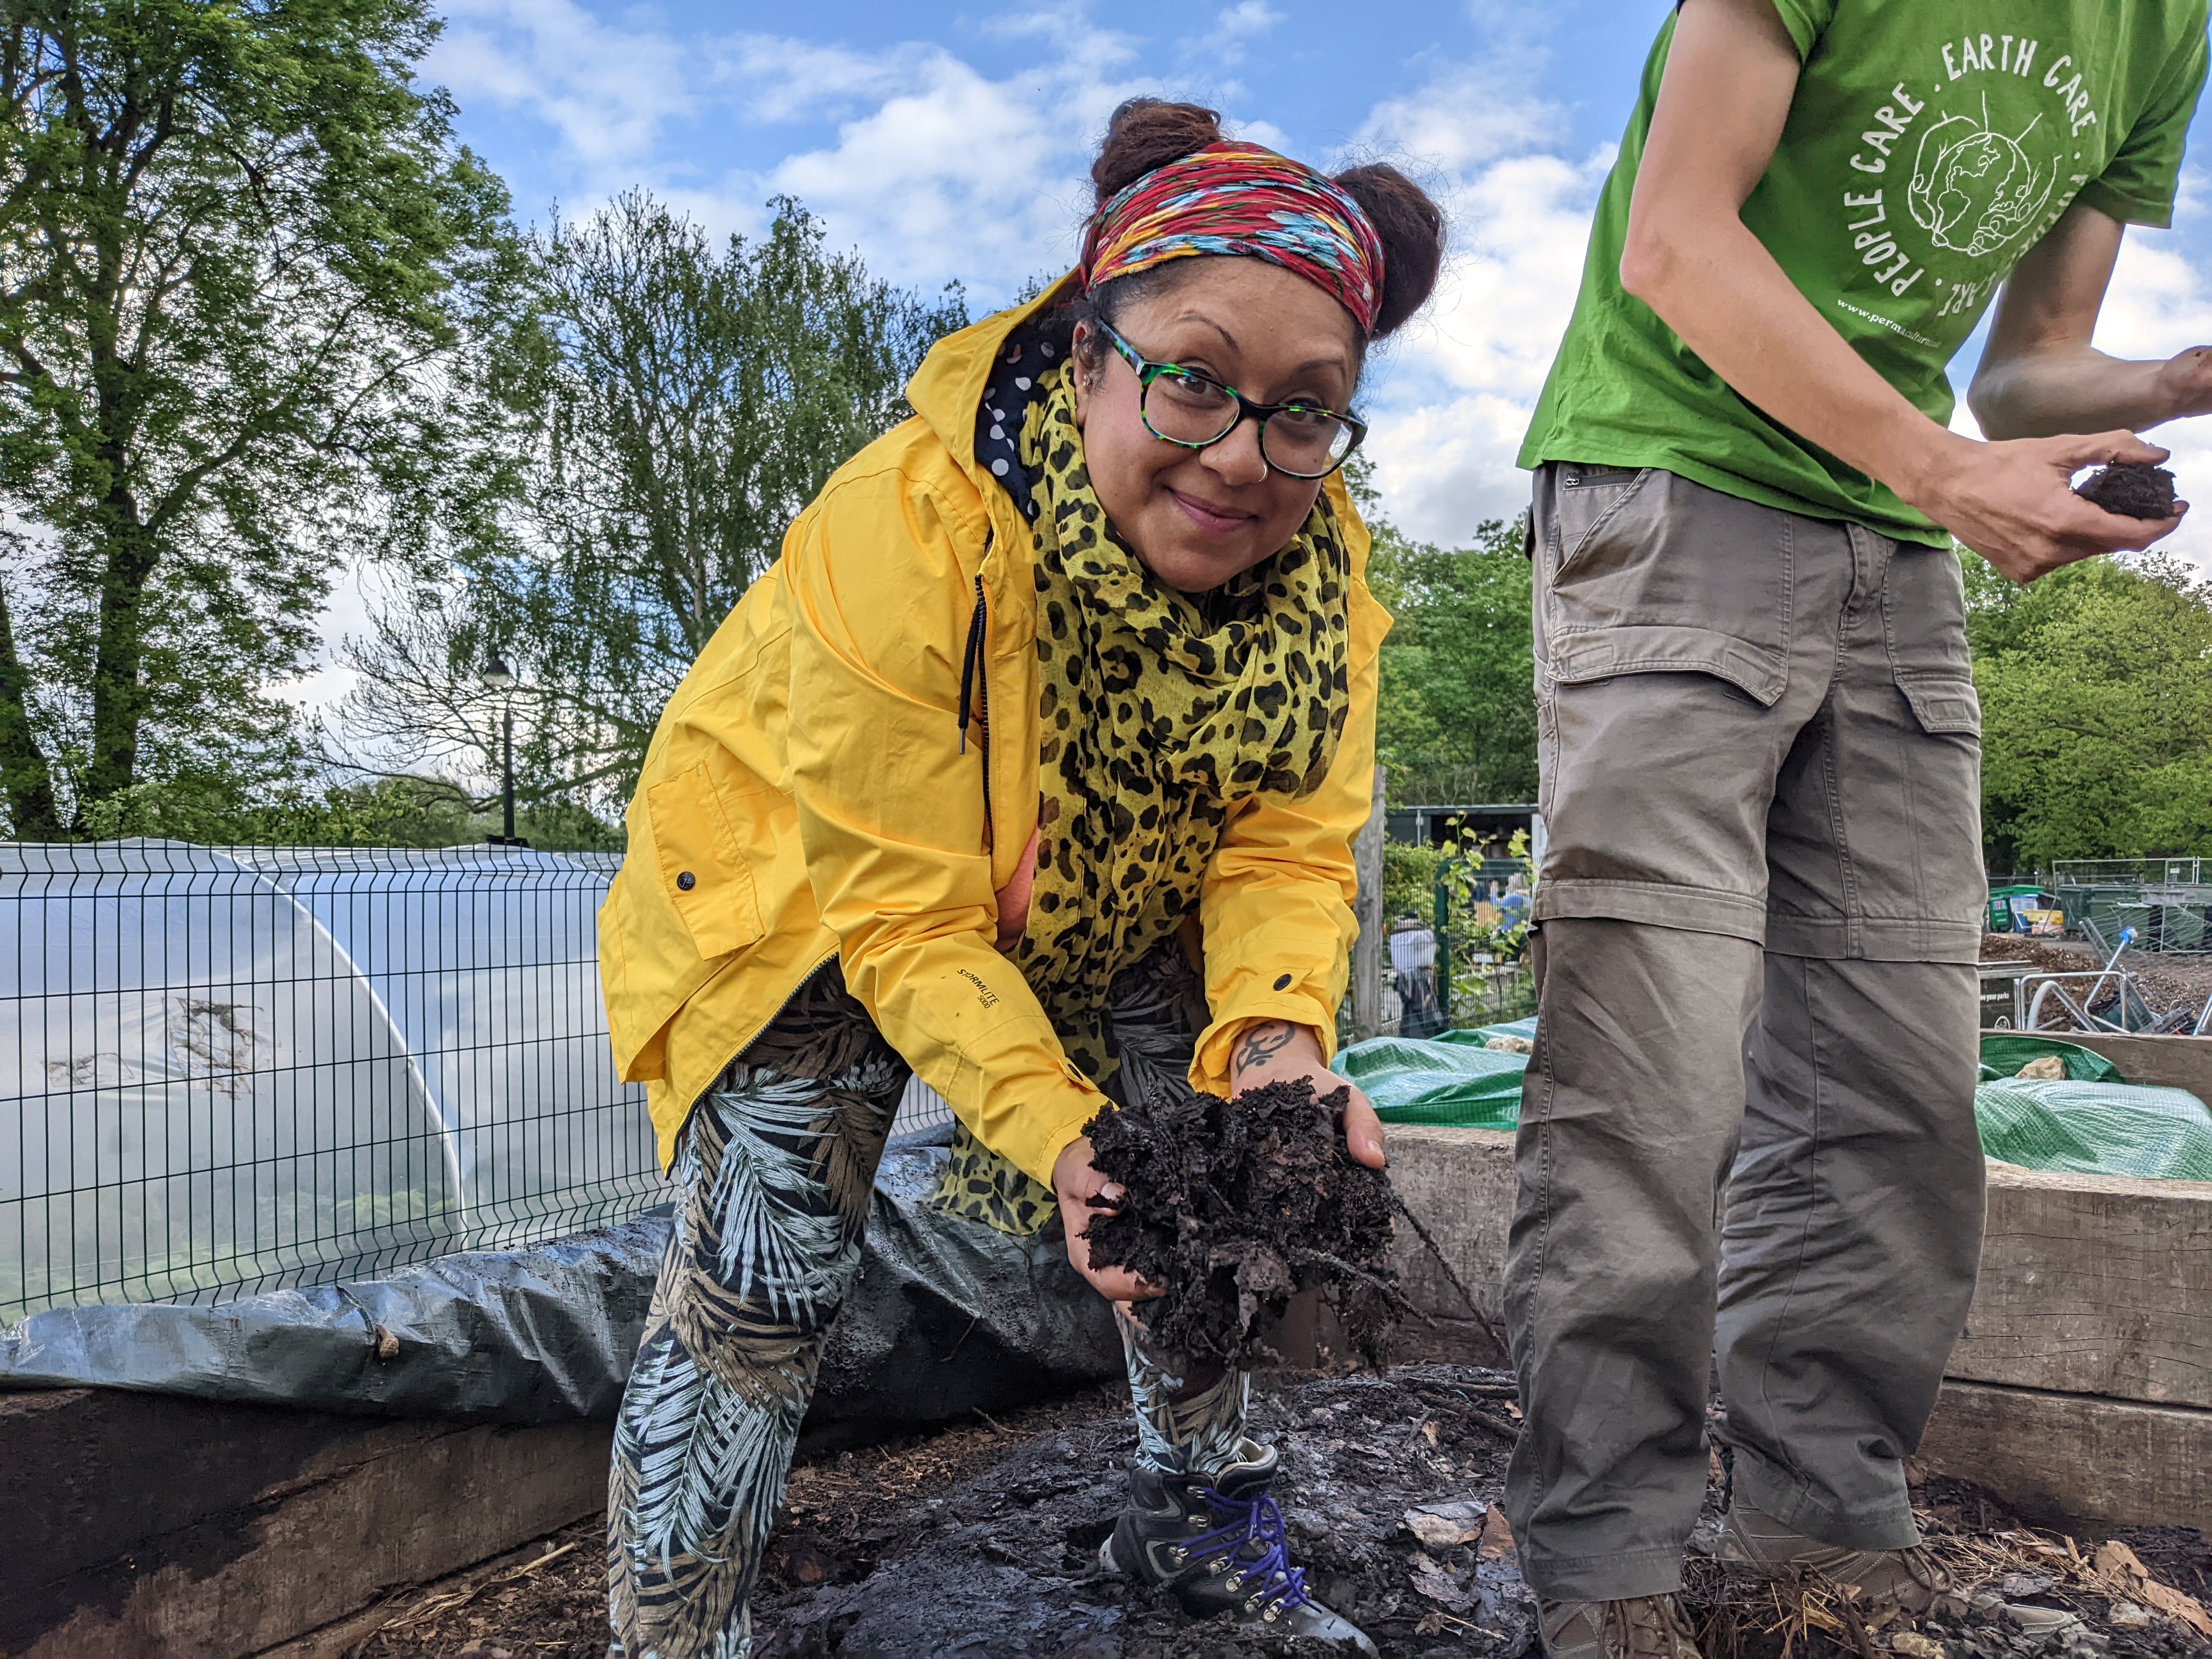
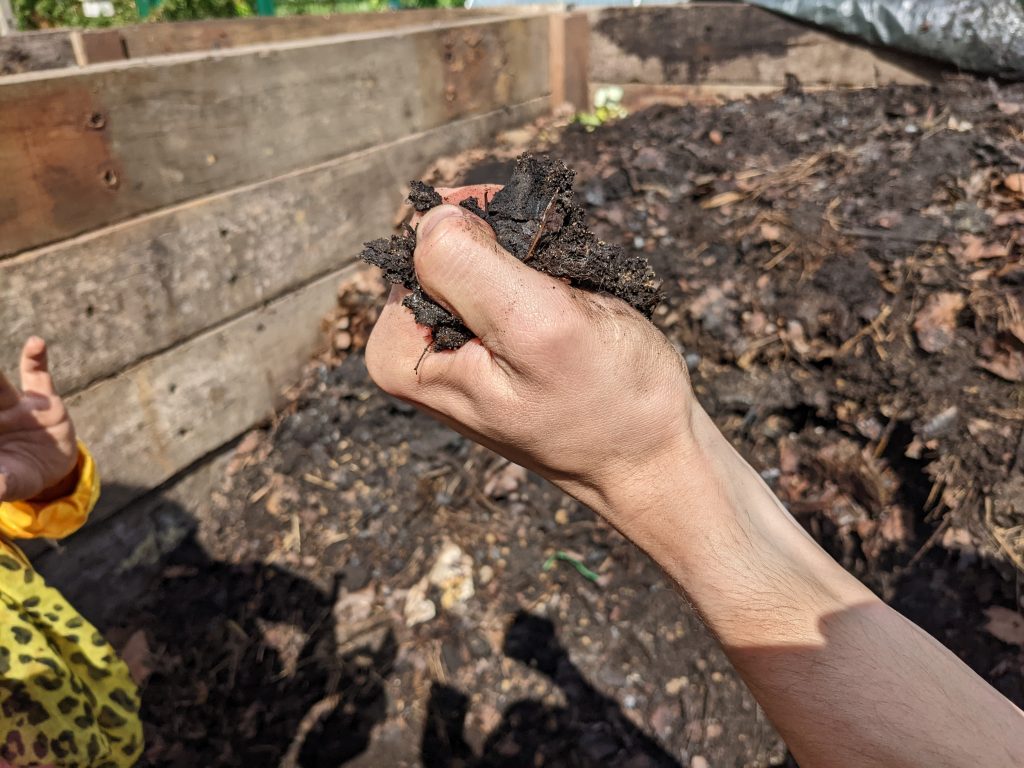
To check the heap’s moisture we can take a handful and squeeze firmly. Too wet and liquid will drip down our arm. Too dry and there will be little or no liquid. We want to see some moisture left behind in our hand.
To prevent the mound becoming too wet or dry we will cover it with a tarpaulin preventing drenching from rain and excessive evaporation.
What next?
Now we’ll need to wait about 6 months until we see lots of worms in the pile which indicates the composting is almost done and then we’ll turn the heap.
Written by Jonathan Wilson and David Dandridge.
For more information about taking part at Bandstand Beds click on this link to our website, email ccbandstandbeds@gmail.com or stop by our produce table on Saturdays between 10am and midday to chat to one of our members.